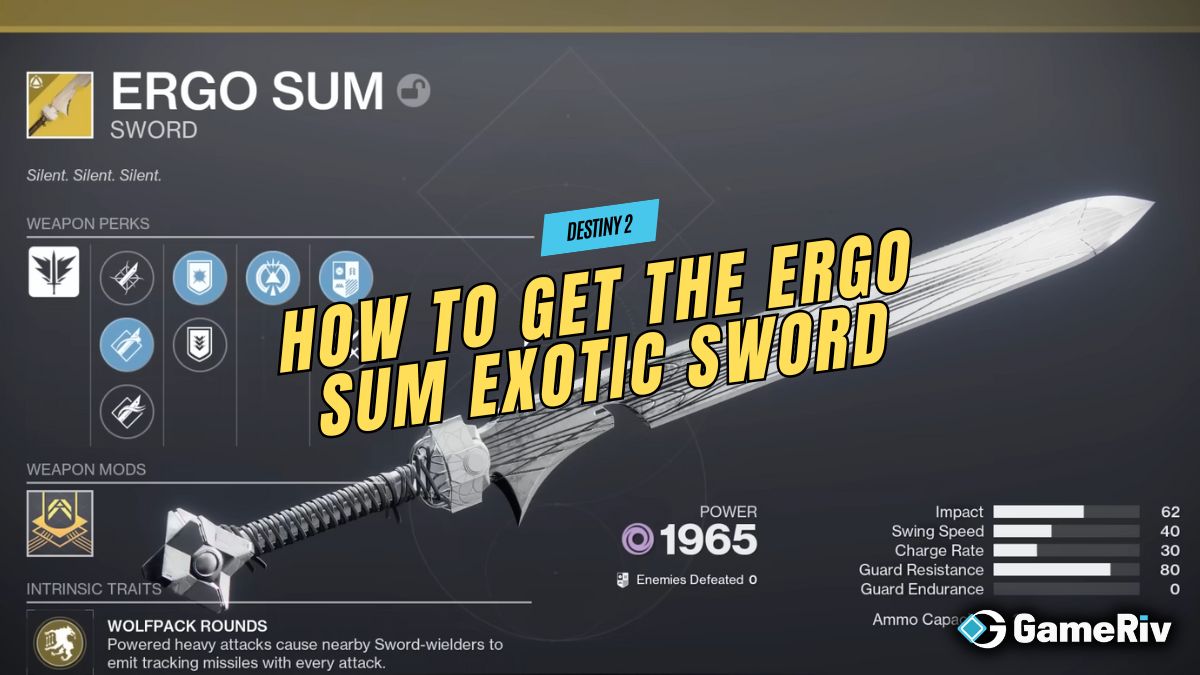
Today, I am going to guide you on how to get the Ergo Sum Exotic Sword, which was just added to Destiny 2 within the final shape expansion.
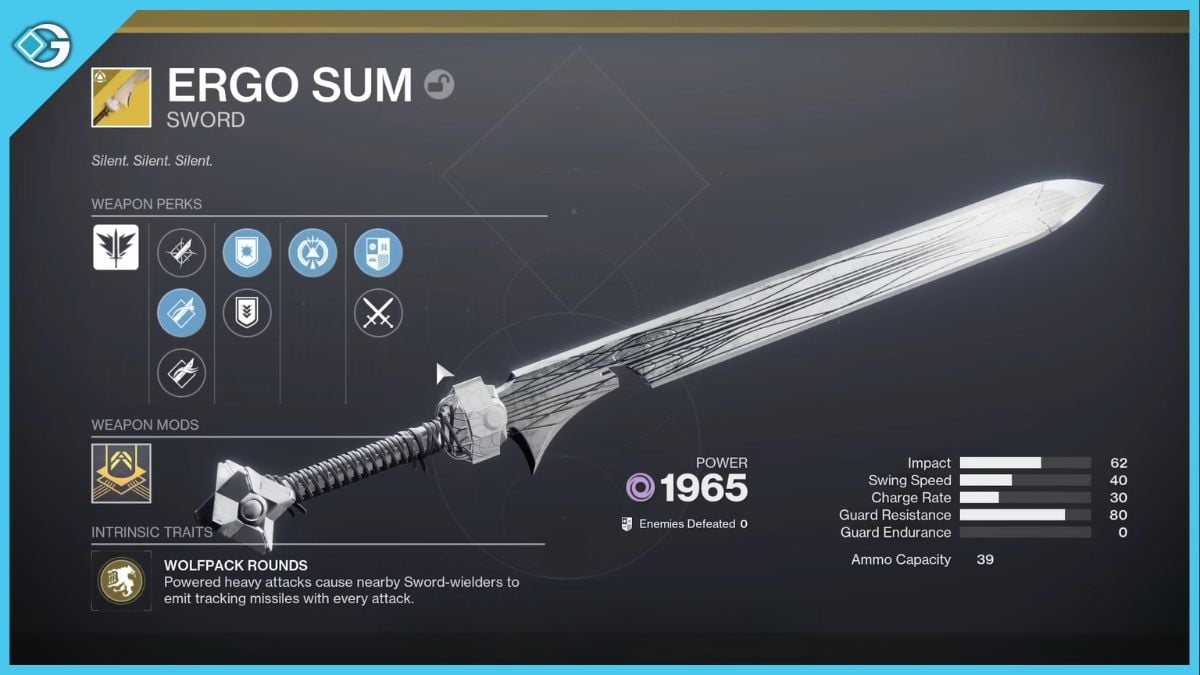
The Ergo Sum is a fantastic weapon, even by Destiny standards. It is a special ammo sword that can be played with intrinsic traits like Wolfpack Rounds. On top of that, it can be any elemental damage type or sword frame archetype. But how do you get it for the very first time?
Read More: Destiny 2: How to get Last Rite Scout Rifle PvP & PvE God Roll
How to Get Ergo Sum in Destiny 2
Here are the steps to get the Ergo Sum exotic sword:
Step 1: Beat the Final Shape Campaign
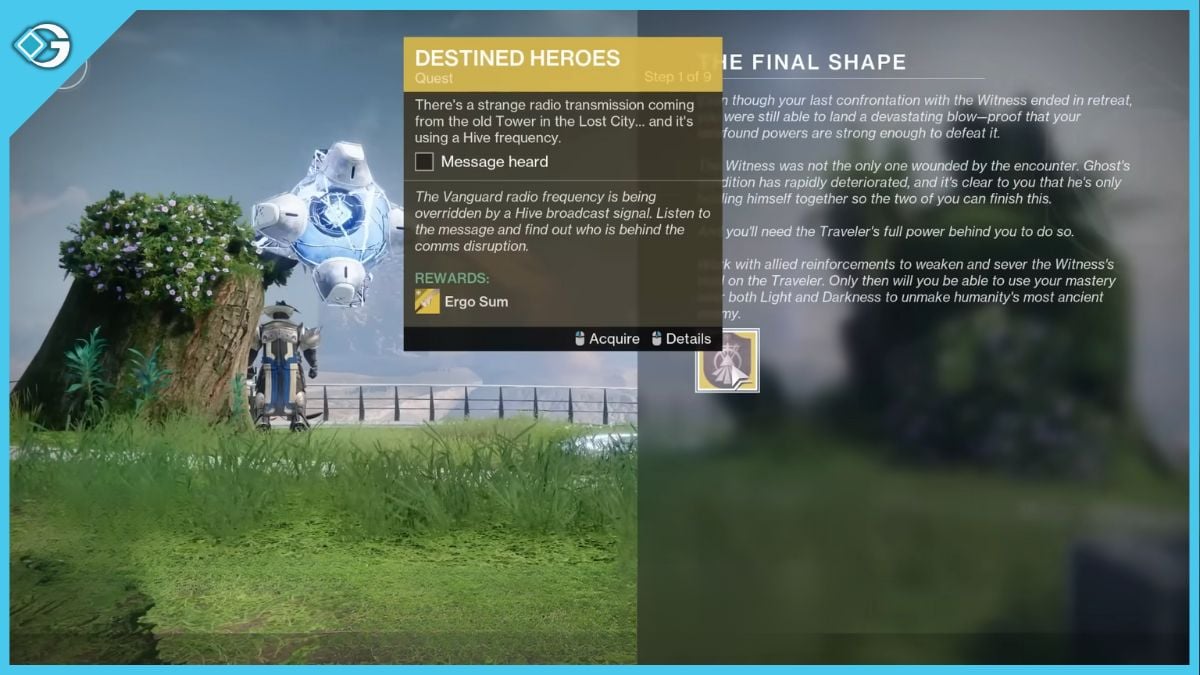
The first thing you will need to do is beat the Final Shape campaign on either Normal or Legend difficulty. After you’re done with that, an exotic quest called Destined Heroes pops up.
Step 2: Queens, Part 1 Mission
Once you pick up this exotic quest, you actually get a brand new exotic mission that you can launch right here, called Queens, Part 1.

After starting the mission, you will be led to collect some relics. Just go where the marker takes you and grab the relic.
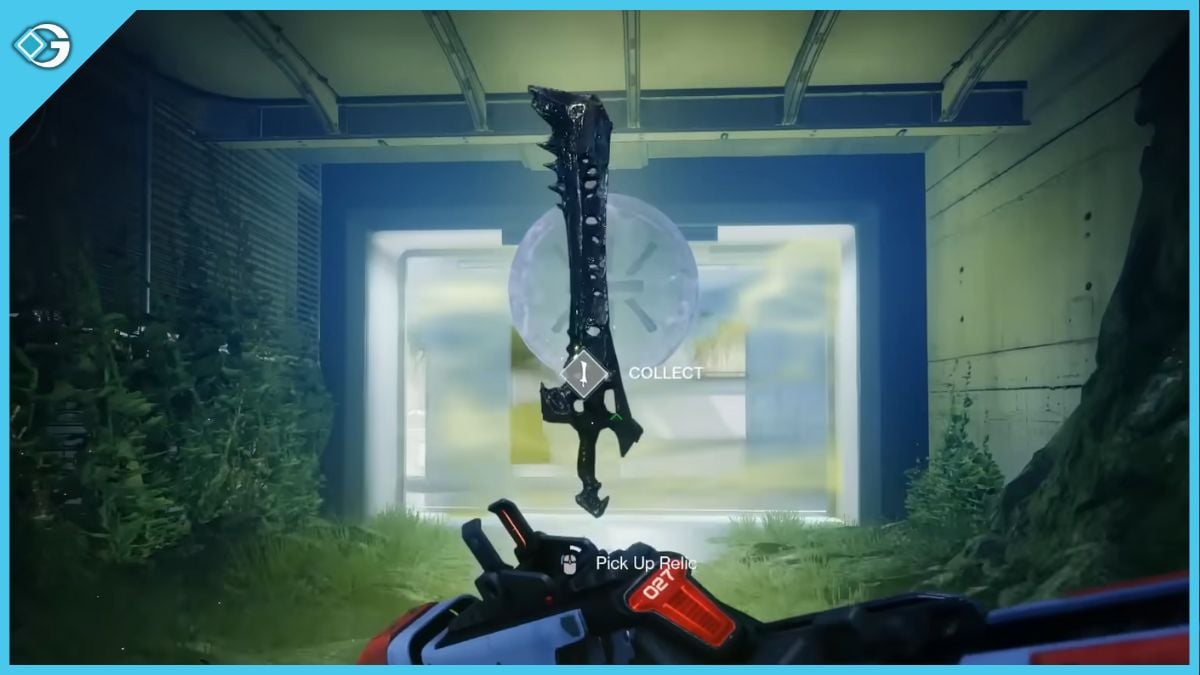
After collecting the relic, you will notice a strange rune. The rune is immune to your attack. Therefore, you need to use guard while holding the relic to reflect enemy elemental damage.
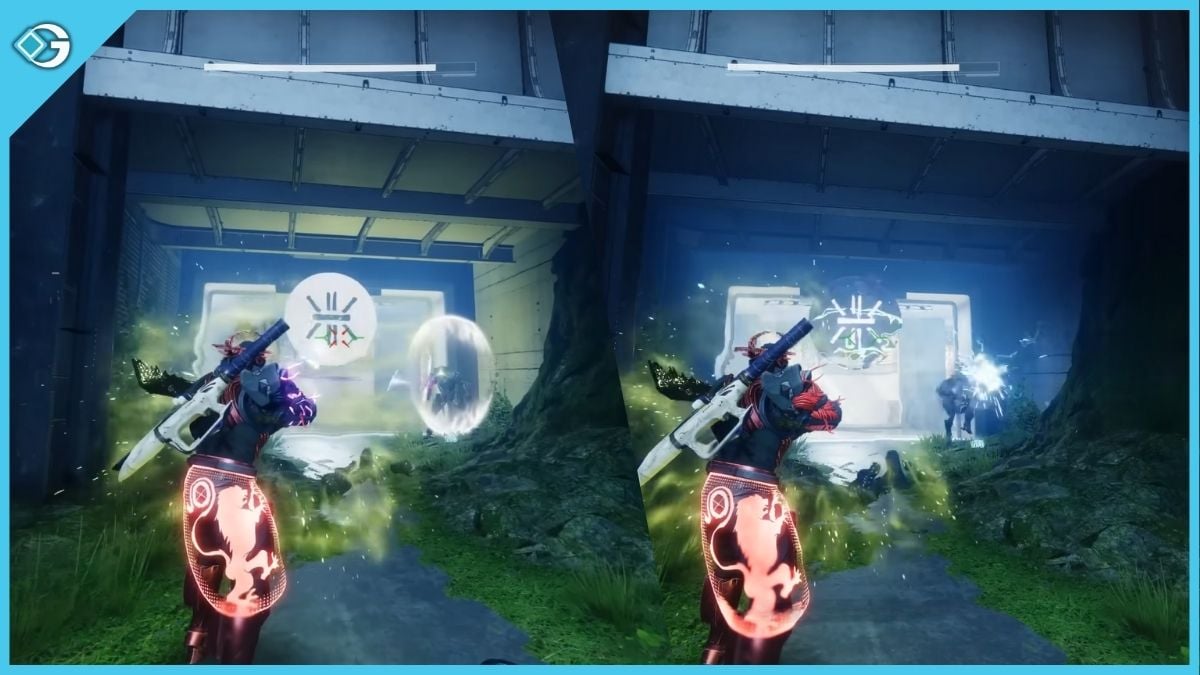
You need to keep doing this for a few more runes. But remember, each of the runes needs different elemental energy. For example, you need to reflect Hive Projectiles with Hive Sword Guard and vice versa.
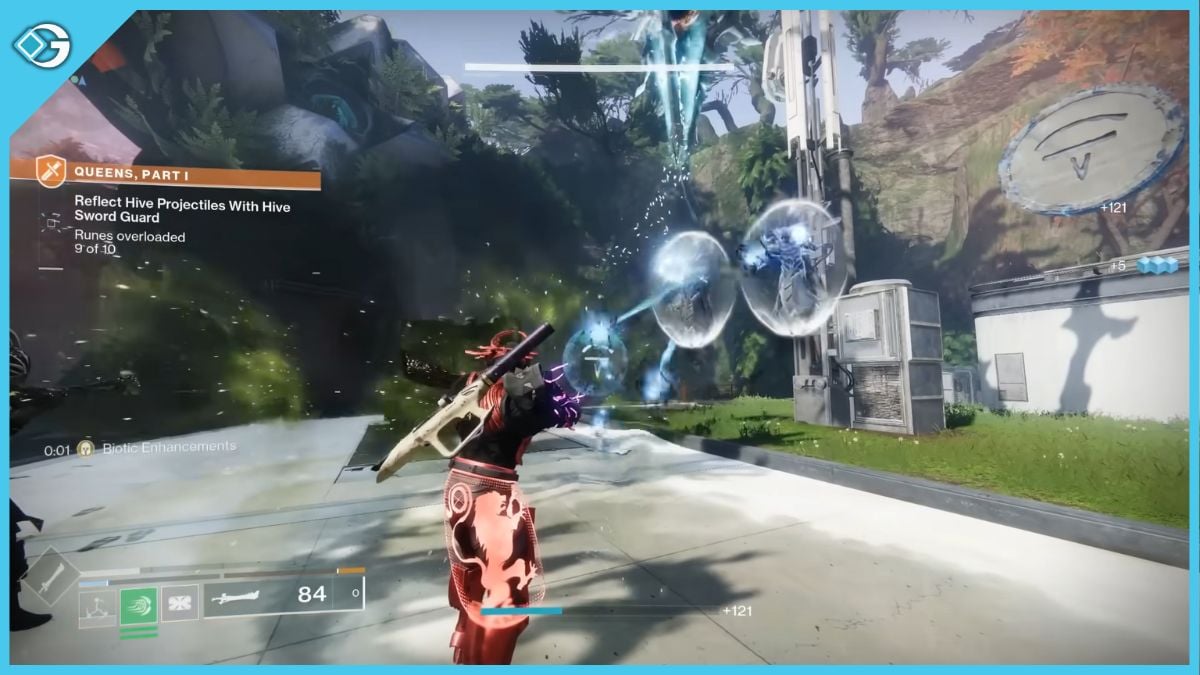
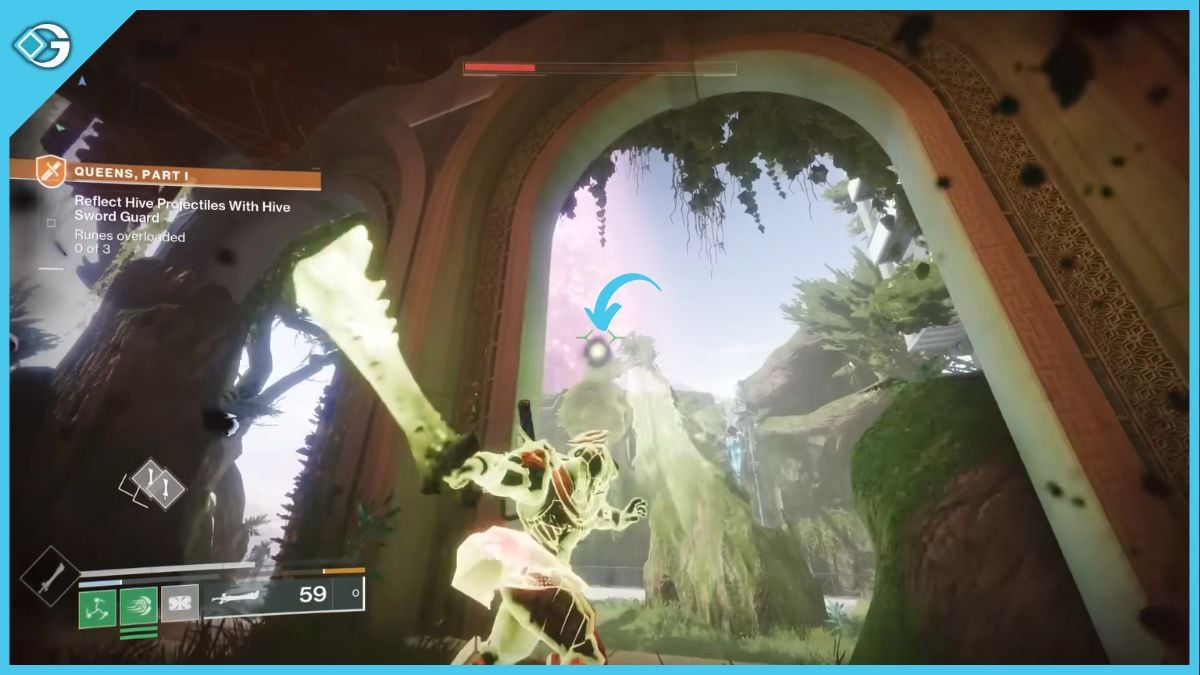
While doing this mission, you will face some runes that are covered by a green shield. In those cases, you first need to break the shield by destroying the orb right above the shield with a heavy sword attack.
Step 3: Savathun Encounters
After a while, you’ll fight Savathun a couple of times. You will also use orbs in front of the statue to damage the elemental runes by throwing them. Remember, you need to kill enemies to generate the orbs.

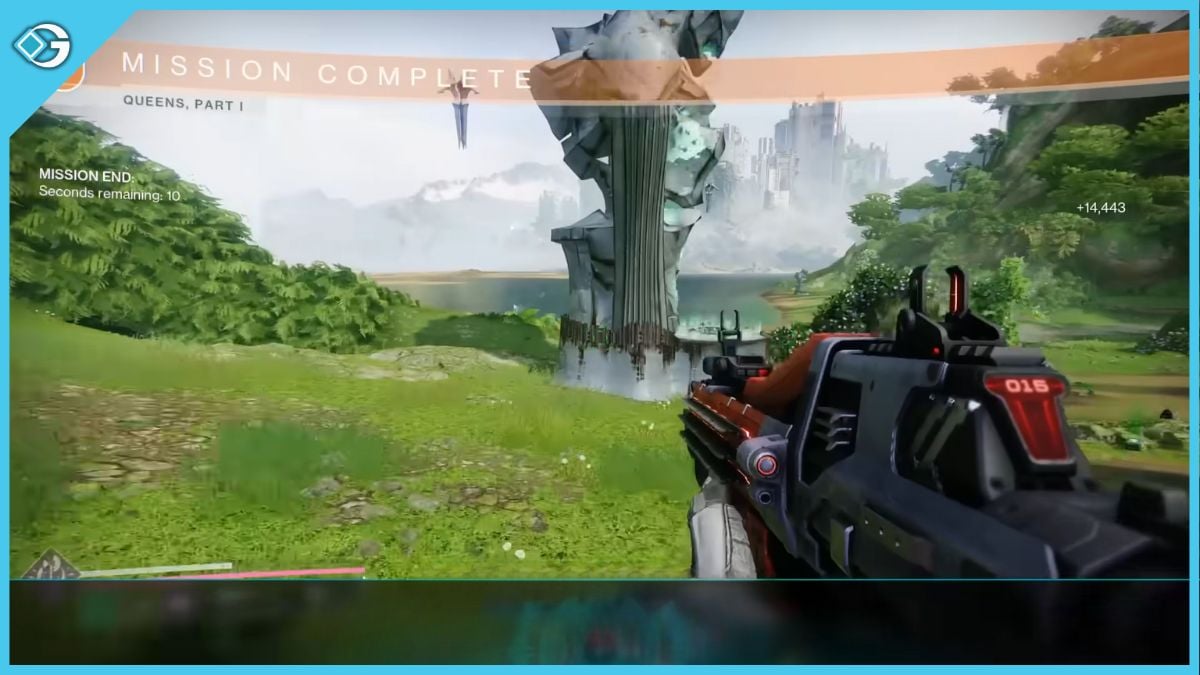
You will also find some statues with a green shield over the orbs. You just need to bring out your sword and launch a heavy attack on the orb above the shield. Keep hitting the elemental runes, and you will finish the mission soon.
Step 4: Lost in the Light Campaign
After you are done with the Queens Part 1 mission, you will get two new campaigns. Let’s begin the Lost in the Light campaign first. For this campaign, you need to go to Pale Heart and enter a cave.
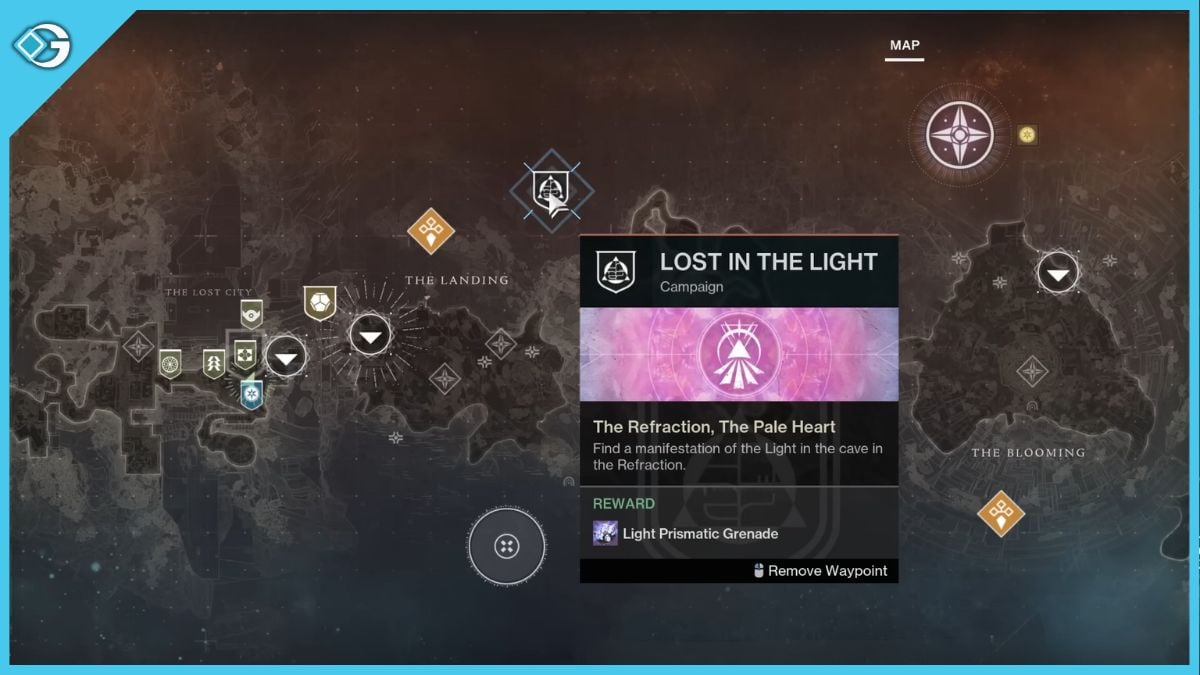
Inside that cave, you will find a chest. This chest will give you new subclass abilities. Then start the new mission: The Hollow, Part I.
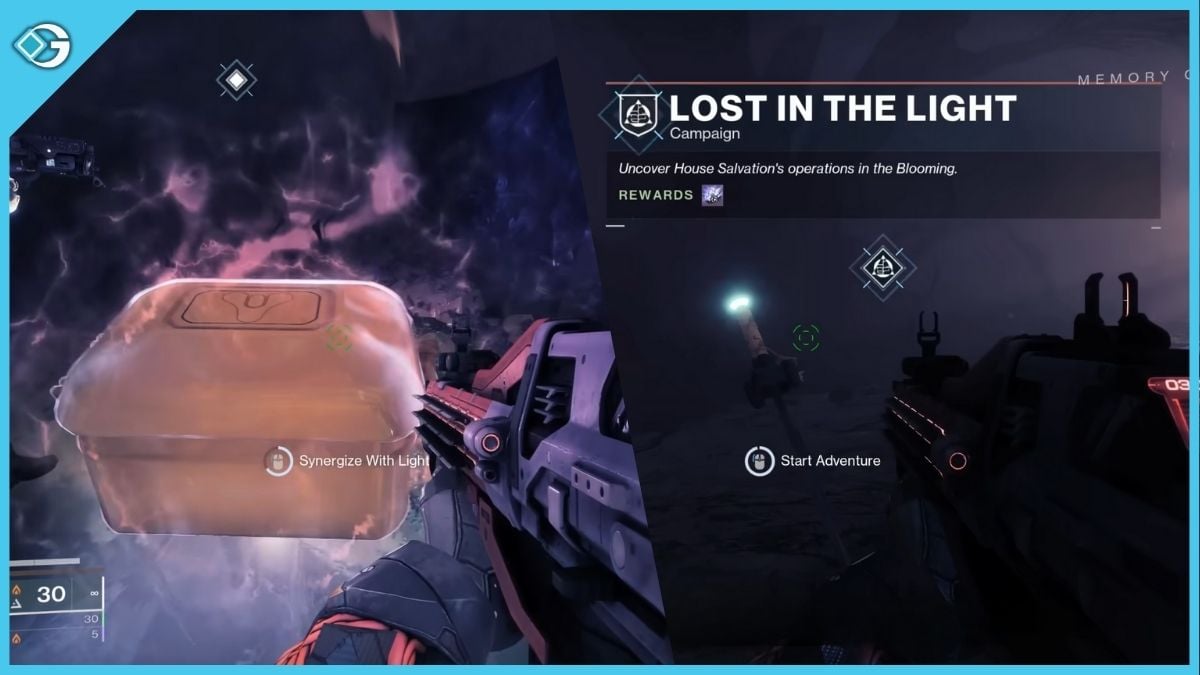
You need to fight some enemies after you start the mission. After fighting the enemies, you need to hack house salvation systems. Then you have to fight some more enemies while the ghost is hacking the system.
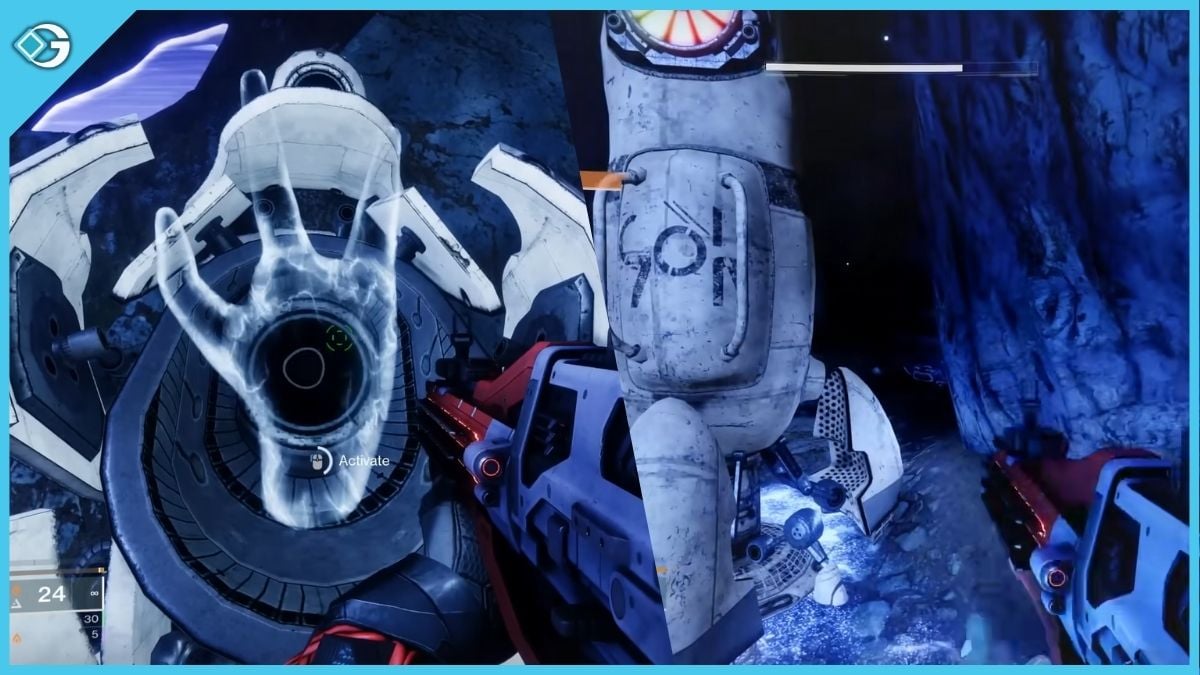
After the hacking is done, you need to pursue house salvation. Now, you will come across some shield generators, which you need to destroy. The first generator is the light generator. To destroy this, you need dark motes. And to destroy a dark generator, you need light motes. You have to collect motes by defeating the enemies around the generator.
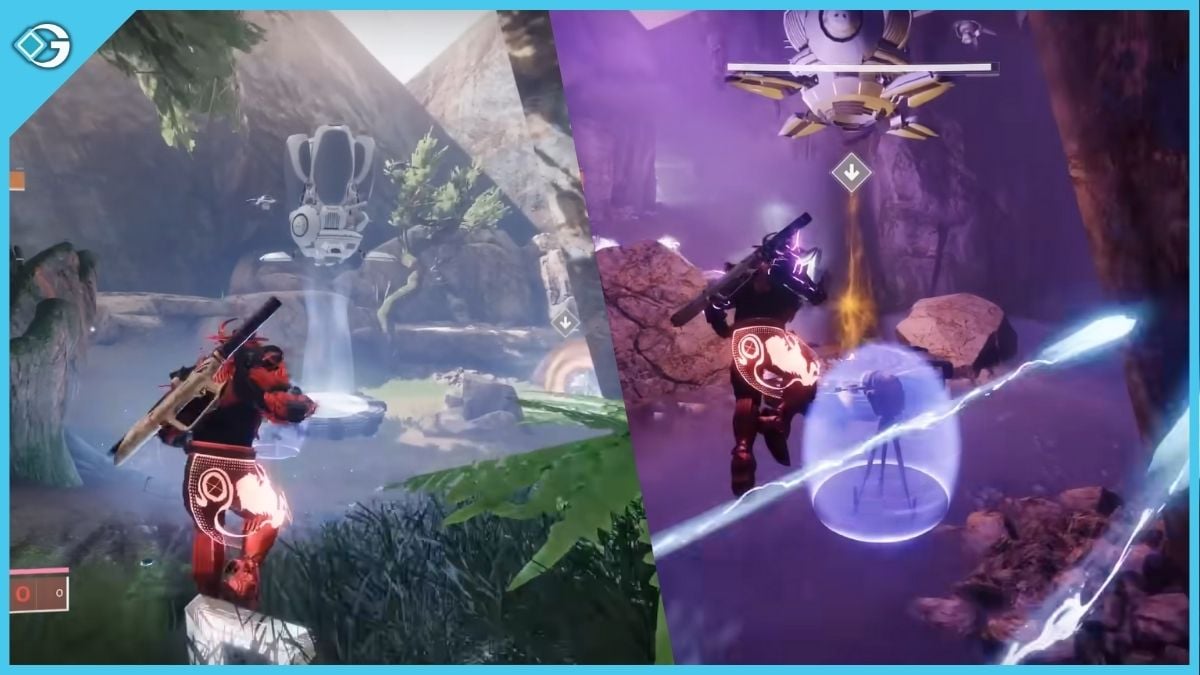
The same goes for the next two shield generators. But, after doing all that, you need to defeat Korha the Hollow. When you defeat it, your The Hollow, Part 1 mission will be completed.
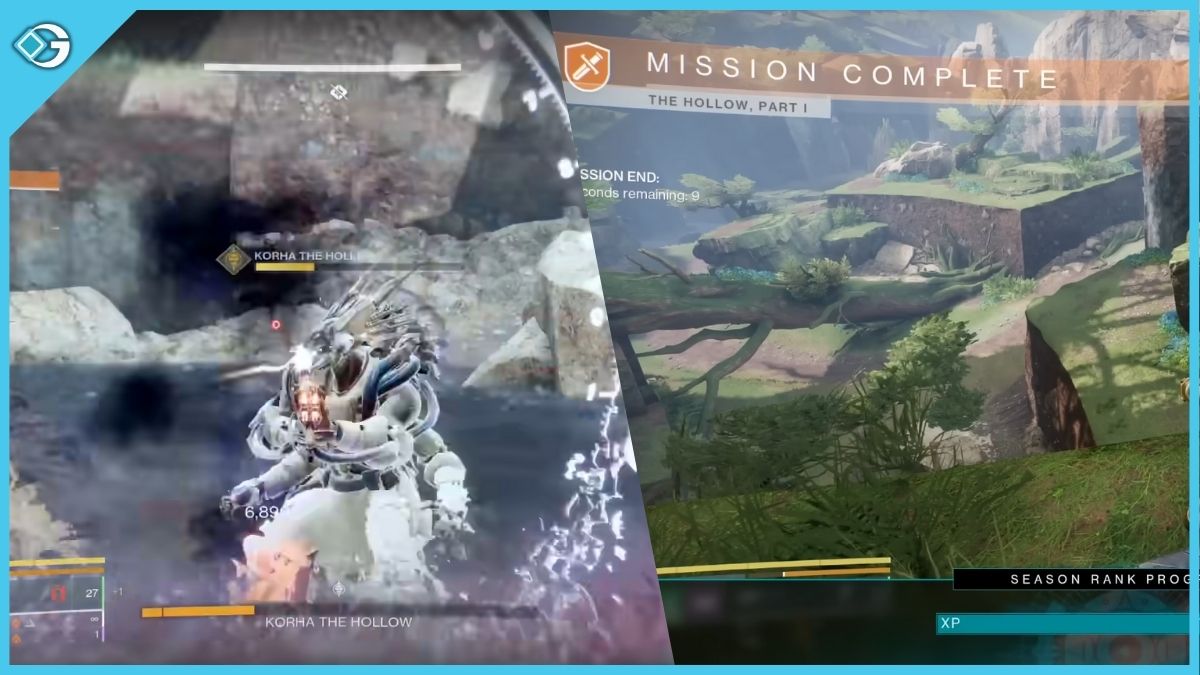
Step 5: The Hollow, Part 2 Mission
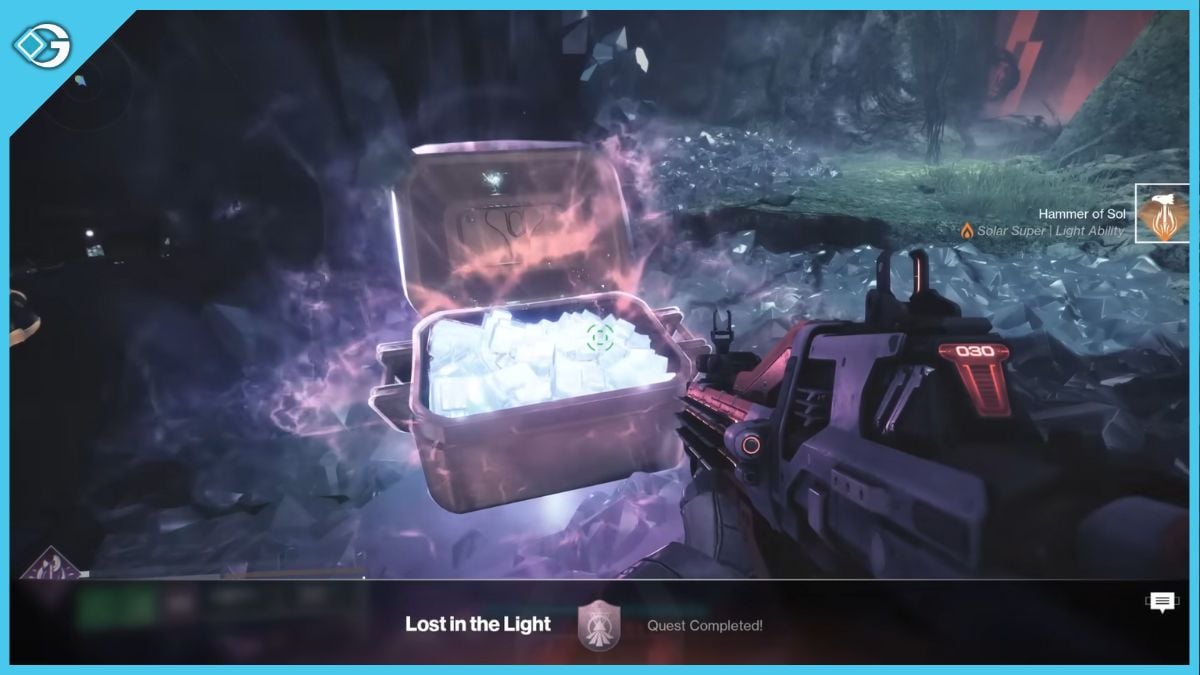
You will be teleported right to the cave, where you need to start your new mission. Just go where the white marker leads you, and you will find another Prismatic chest waiting for you. Open it to get another ability for your Prismatic subclass. Then start the new mission: The Hollow, Part II.
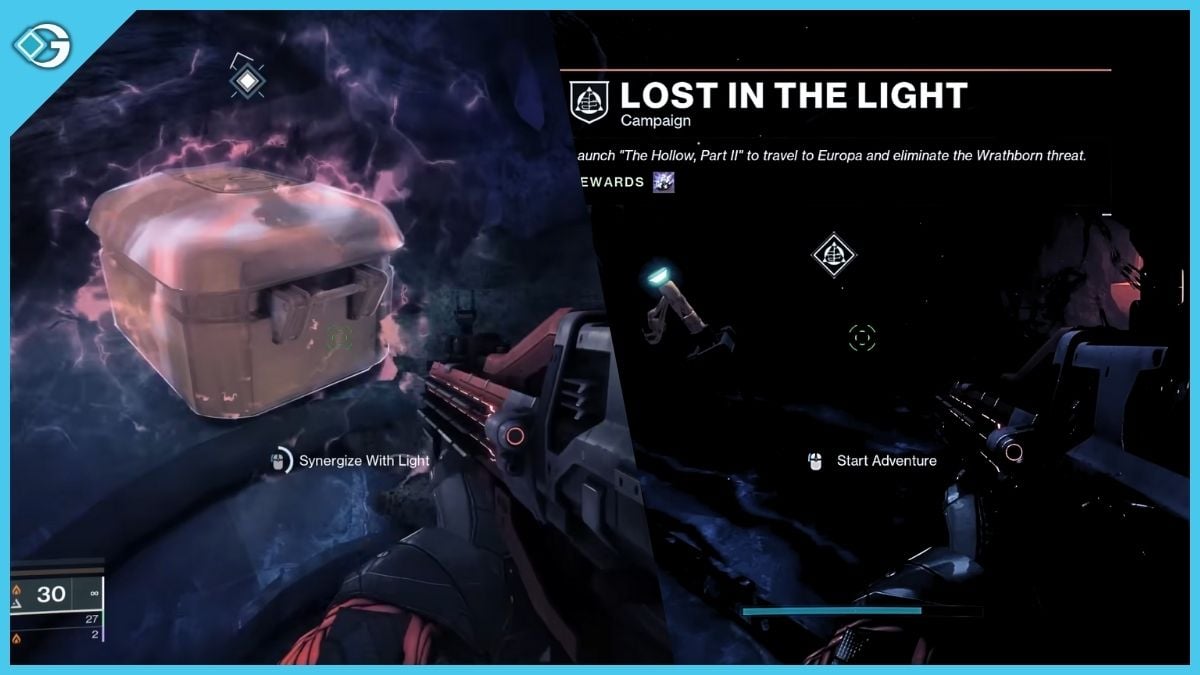
The mission takes place in Europa. You will be greeted with a new threat. Kill it, and you will see a friendly Exploder Shank coming to open a path forward.
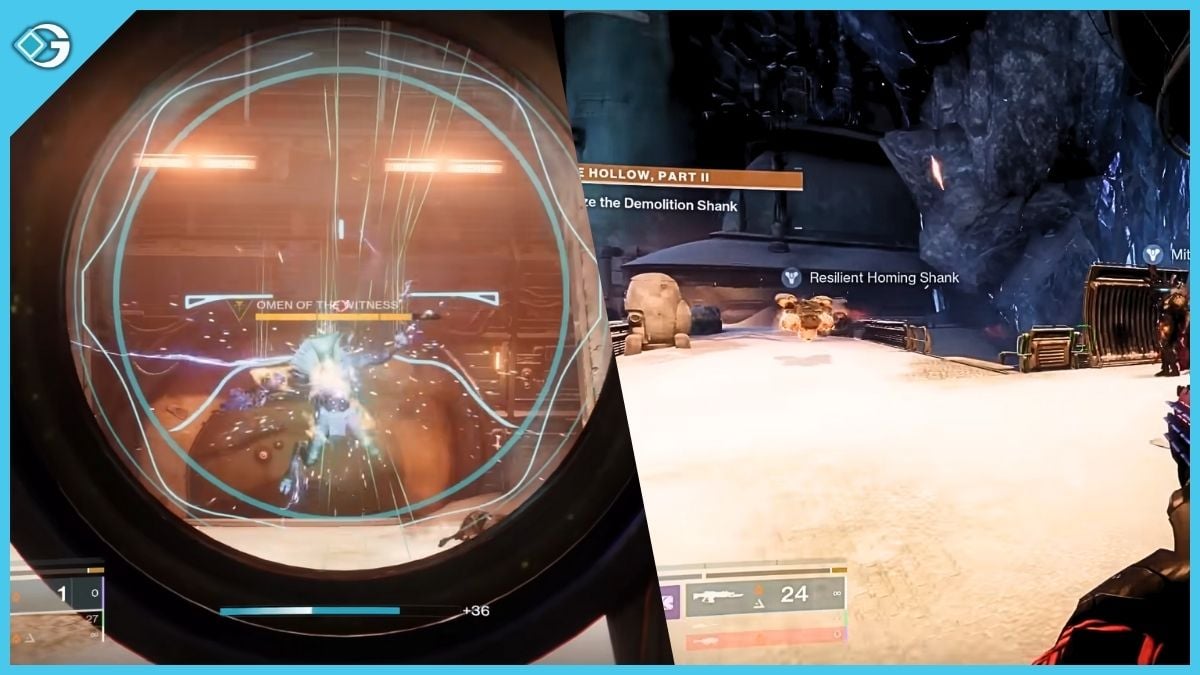
Now, you have to kill a few enemies and move on to the next phase of the mission. You will find an enemy who is immune to your attacks. To beat that enemy, you need to first kill the Servitor in the room and pick up the fallen Arc. Then deposit those Arc in an Arc generator. When you do that, the friendly Homing Shank will come and damage the immune enemy.
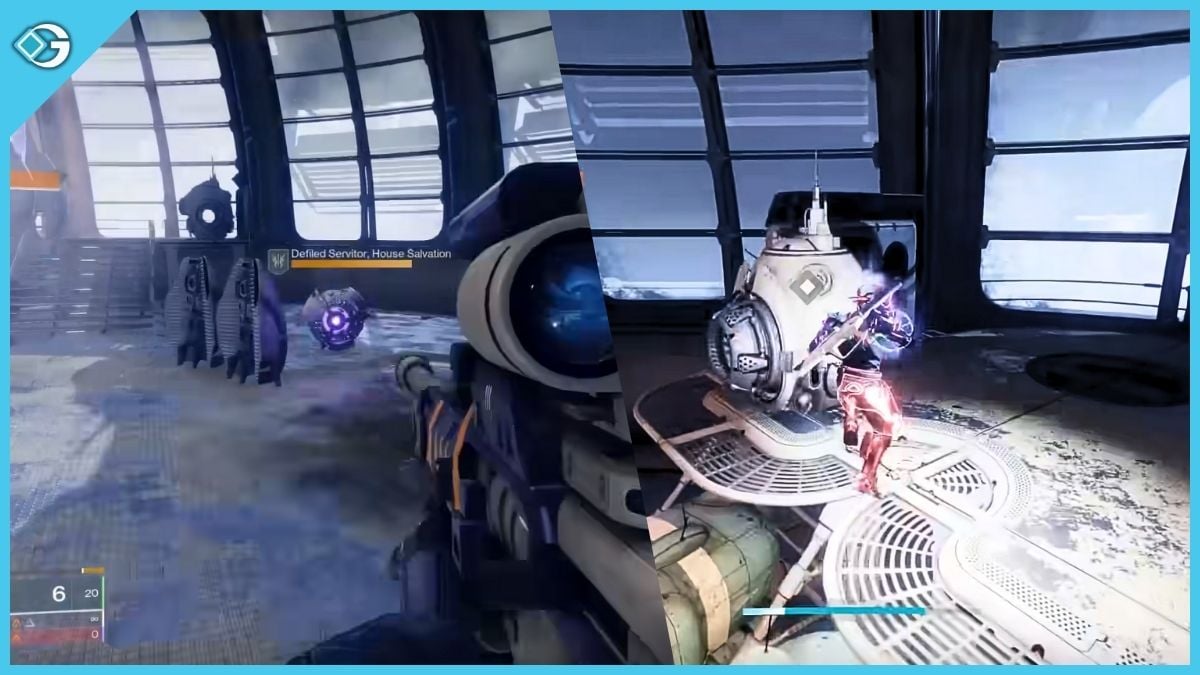
You need to keep doing this until the teleport blows up and lets you through.
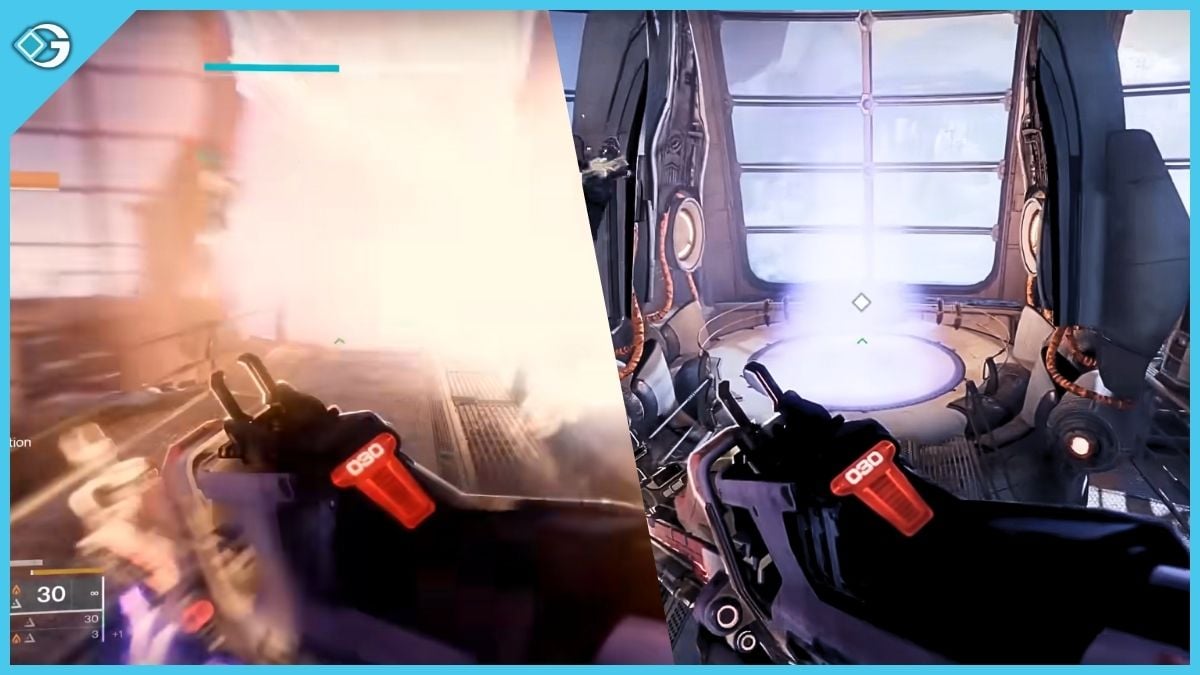
Then, in the next part of the mission, you need to activate another friendly Homing Shank. This Shank will travel to its destination. But along the way, enemies will try to bring it down. So you need to fast and kill them before they damage the Shank.
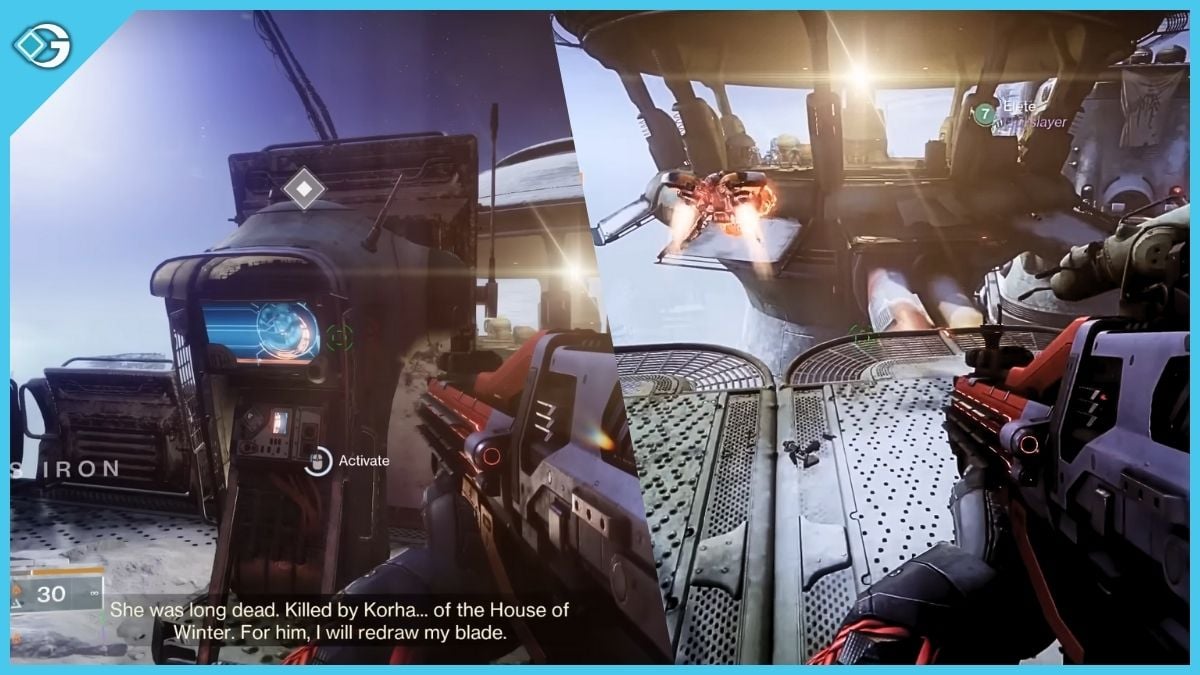
But when it reaches its destination, it will turn into an enemy Shank, and you need to shoot it to blow up the door. Then, you need to defeat some Servitor again and deposit the fallen Arc in a generator. More friendly Shank will appear and kill the enemies.
When you are done with this section, you need to interact with a terminal again. That will spawn a Shank, which will move through a track. You need to protect the Shank as enemies will try to bring it down. Same thing; when it reaches its destination, it will become unfriendly, and you shoot it to blow up the door.
Finally, in that chamber, you need to fight a boss. Then, you need to defeat some other bosses with the same mechanics as before. Deposit Arc into a generator, and a friendly Shank will appear and damage the boss. Keep doing this to end The Hollow, Part II mission.
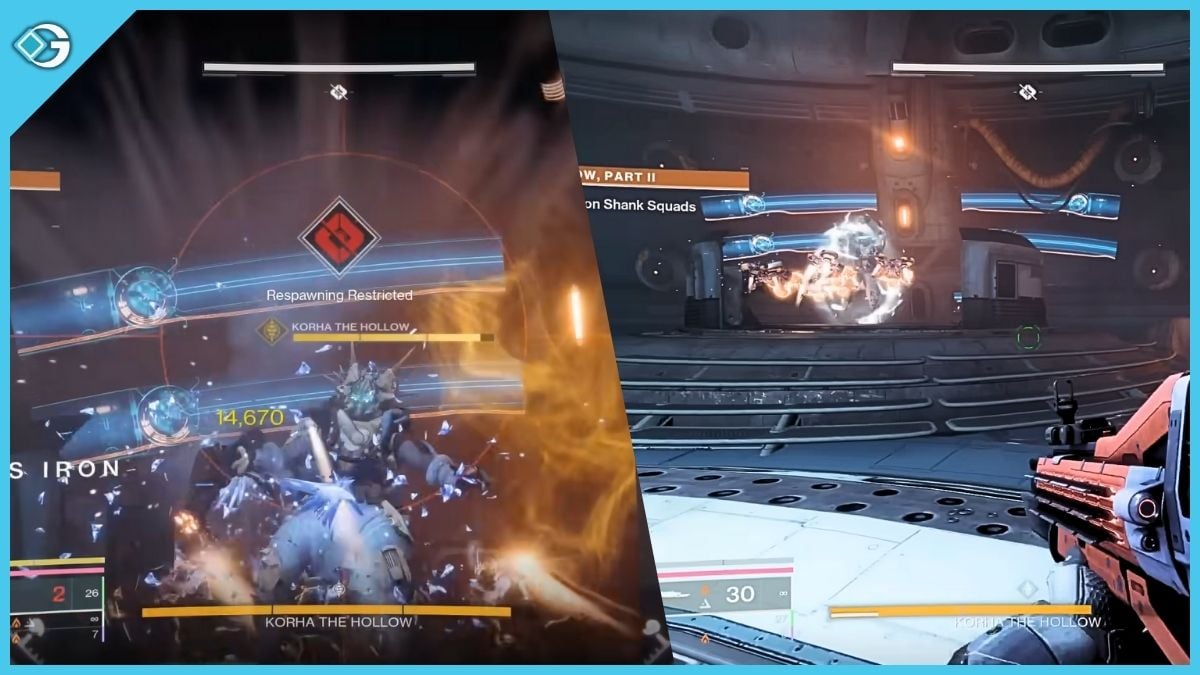
That will end the Lost in the Light quest. Then, you will be teleported to the cave again. Go grab that chest, and you will get a new super.
Step 6: Found in Darkness Quest
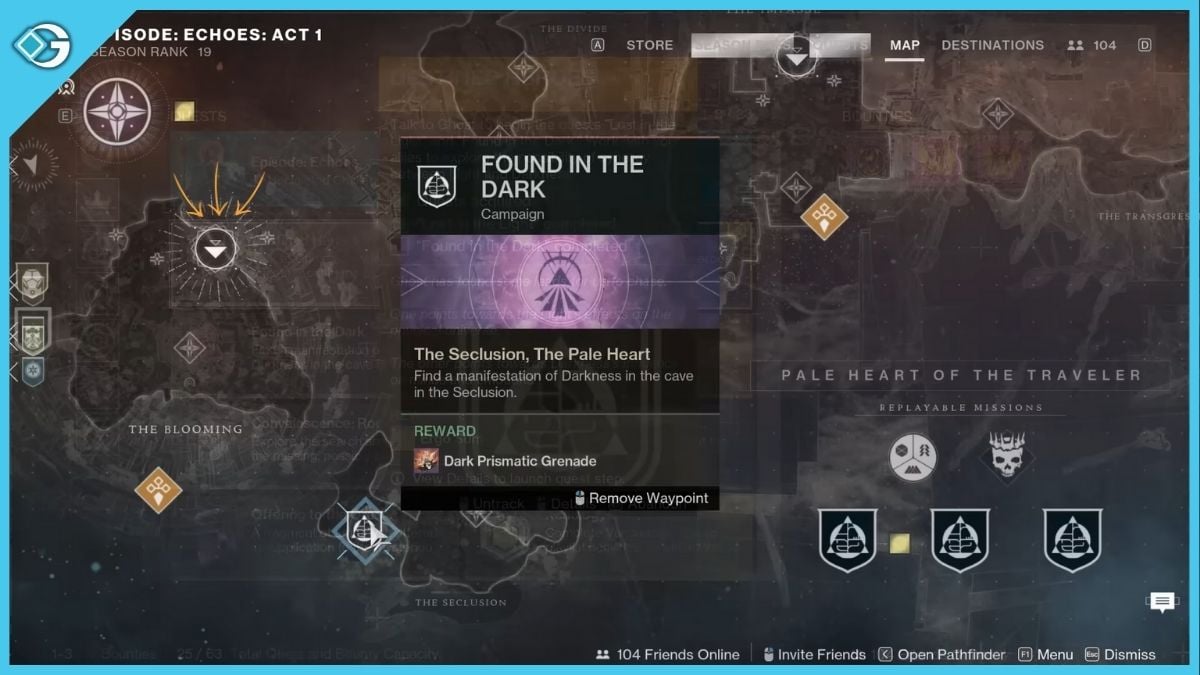
Found in the Darkness quest can be found beside the Blooming. Teleport to the blooming and travel towards the mission. You will enter the cave and glide through the cave, and you will soon find a chest. This chest will give you a darkness ability. After that, you can start the campaign.
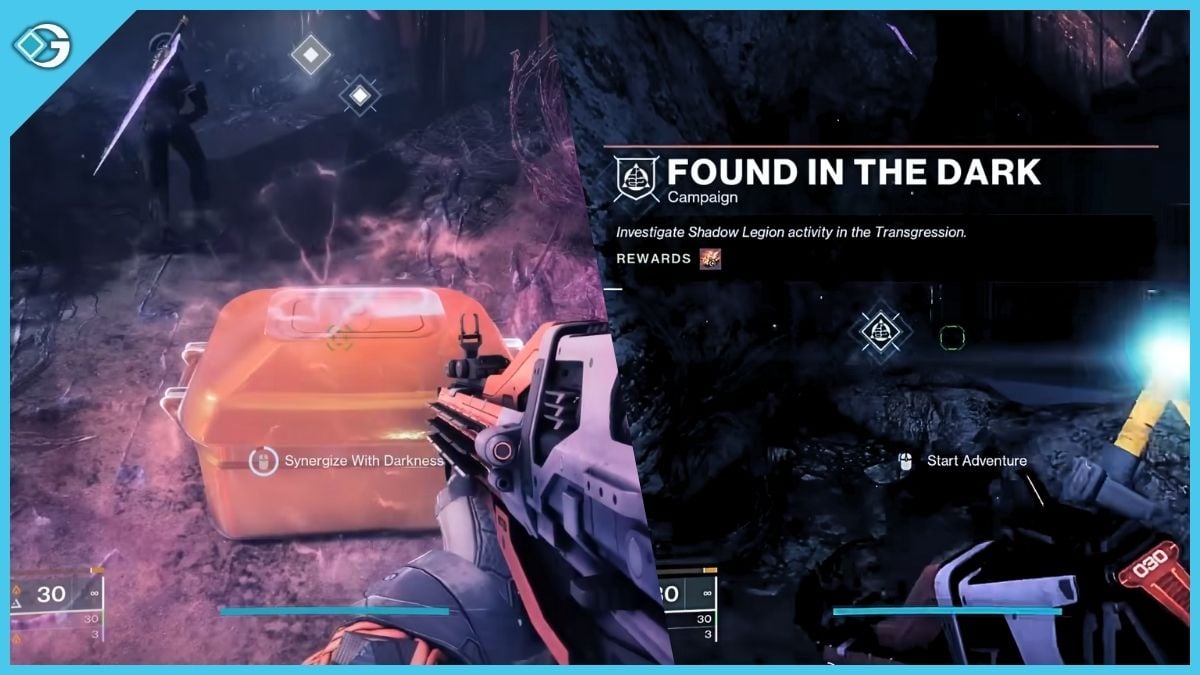
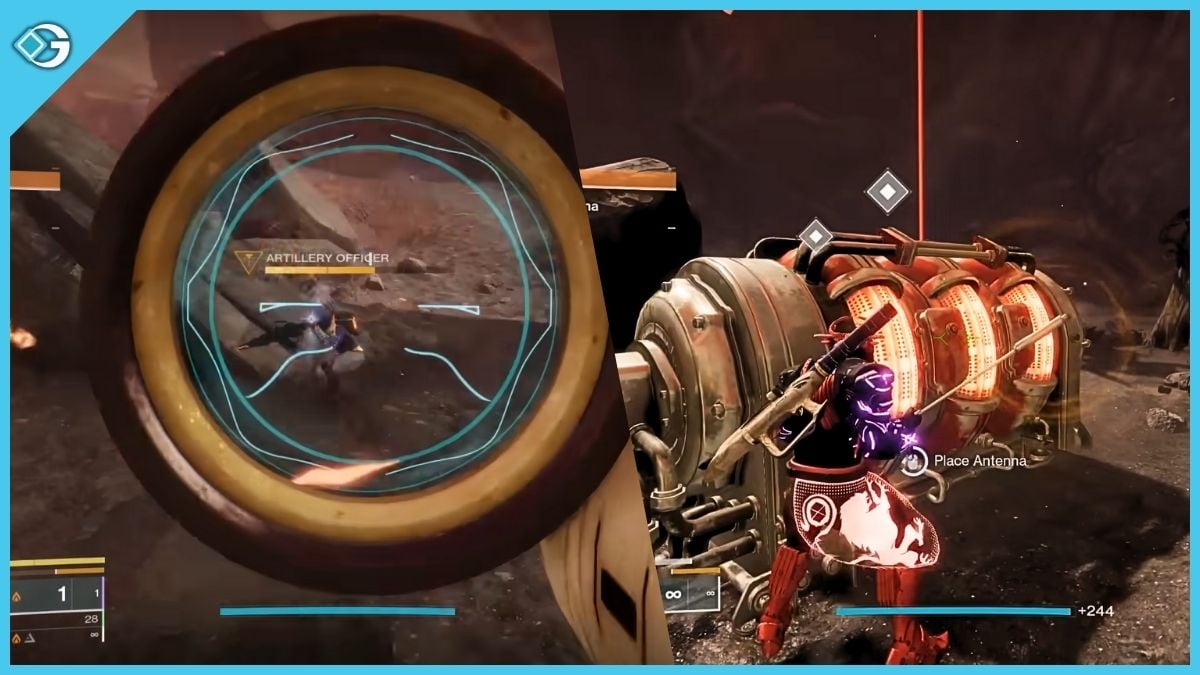
This quest also has two missions. The first mission is called Home, Part I. In this mission, first you need to find Psion Sentinel. It’s the easy part. Then, you will go to an area where you need to find an Artillery Antenna. Look for the Artillery Officer, as it carries the antenna. Kill it, grab the antenna, and place it in the generator.
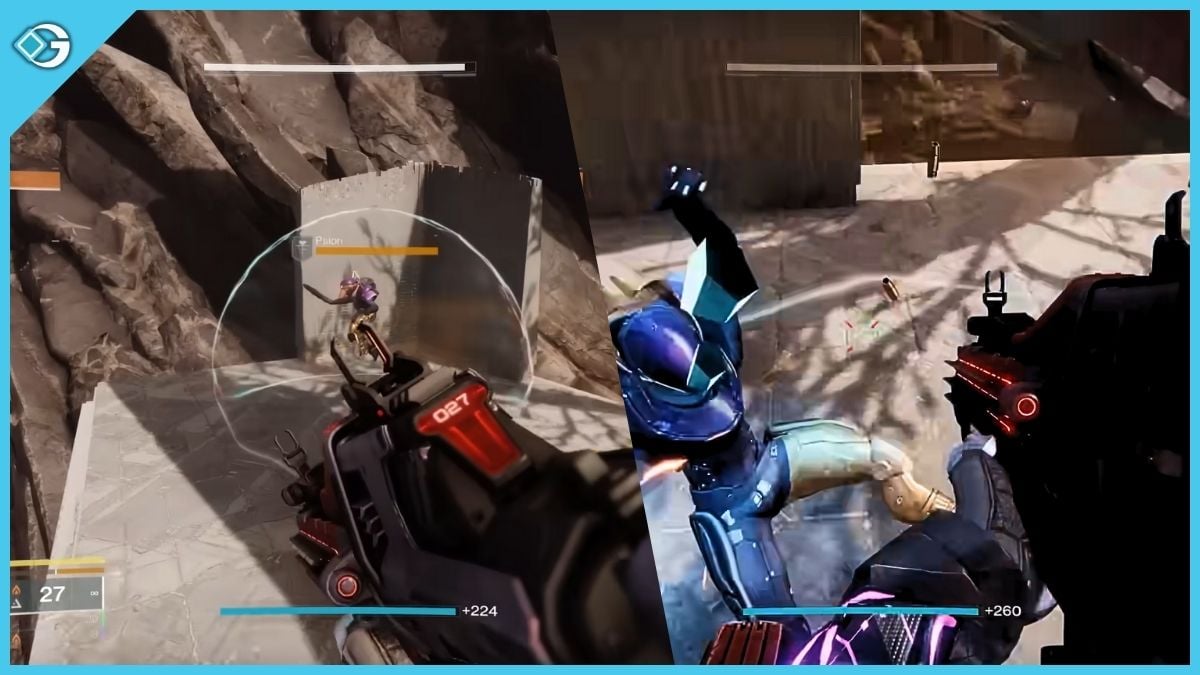
Then, you will move into a new area where you need to place the antenna again in the generator. But this time, the Artillery Officer won’t respawn until you kill two Psion inside the shield. To kill them, you need to enter the shield and shoot. Then the Artillery Officer will respawn, and you need to collect the artillery and place it in the generator.
Finally, the Artillery Commander will appear. You just need to kill it, and the mission will be complete. Now, don’t exit the game, or don’t leave the quest. You will be be teleported into the cave again, and you have to open the chest to get another darkness ability. When you are done with that, you can start a new mission: Home, Part II.
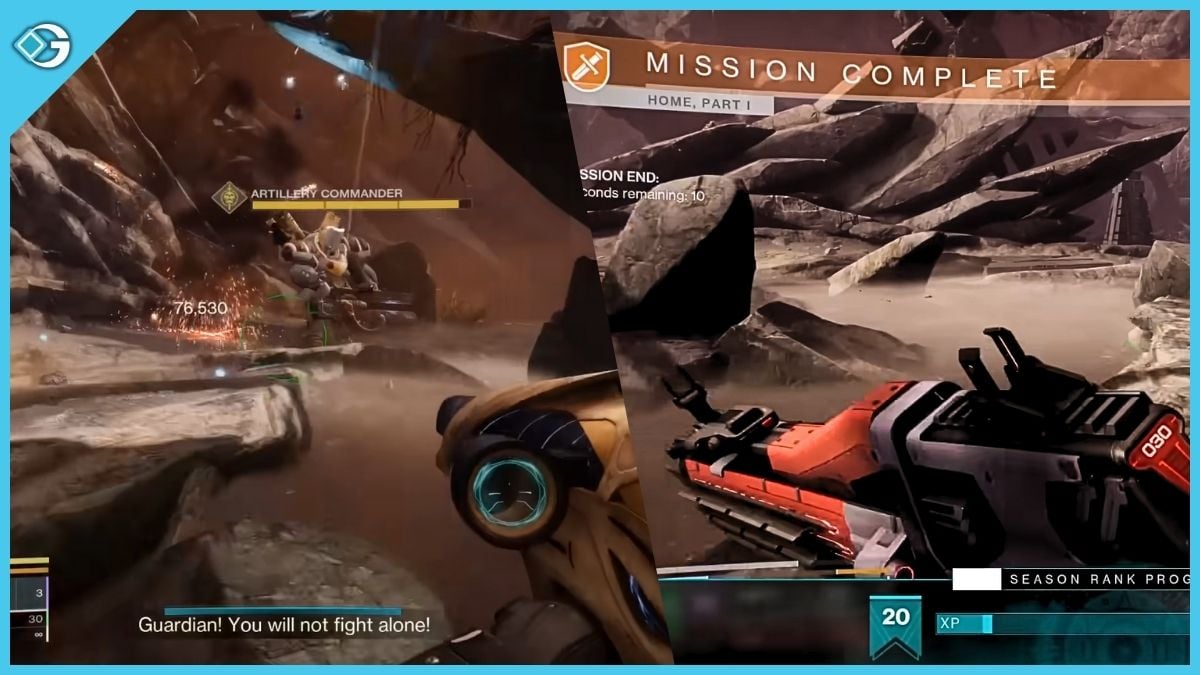
Step 7: Home, Part 2 Mission
This mission is on Europa. First, you need to investigate Shadow Legion activity. But as the area is cold, you will see a Biting Cold timer on the screen. You will die if the timer reaches zero. The good news is that, along the way, you will see many circled fireplaces. Once you enter the circle, the timer will reset to 45 seconds.
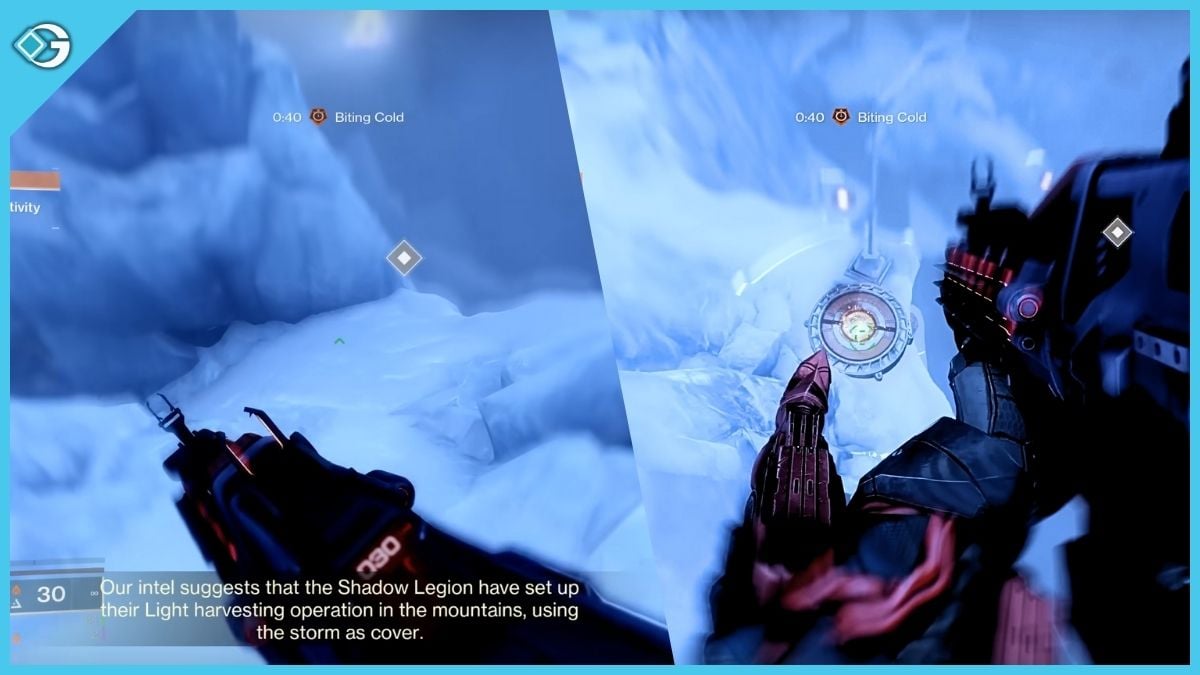
Now, you need to keep this in mind while you destroy the generators. But before that, you need to kill the shielded Psion like before.
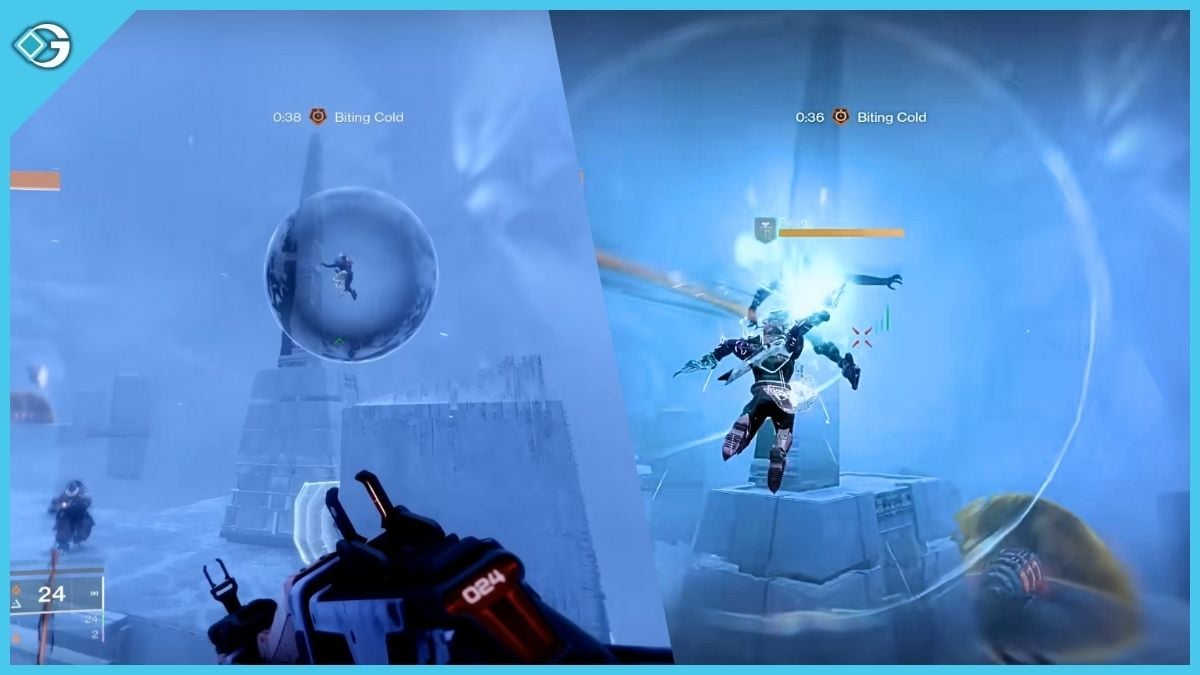
After killing the Psion, a new enemy will spawn. You need to kill that enemy to get the Unstable Power Unit. Pick them up and throw them towards the generator to destroy them. When you destroy the generators, you will have to destroy another set of generators. Keep doing that, and you will move to another area.
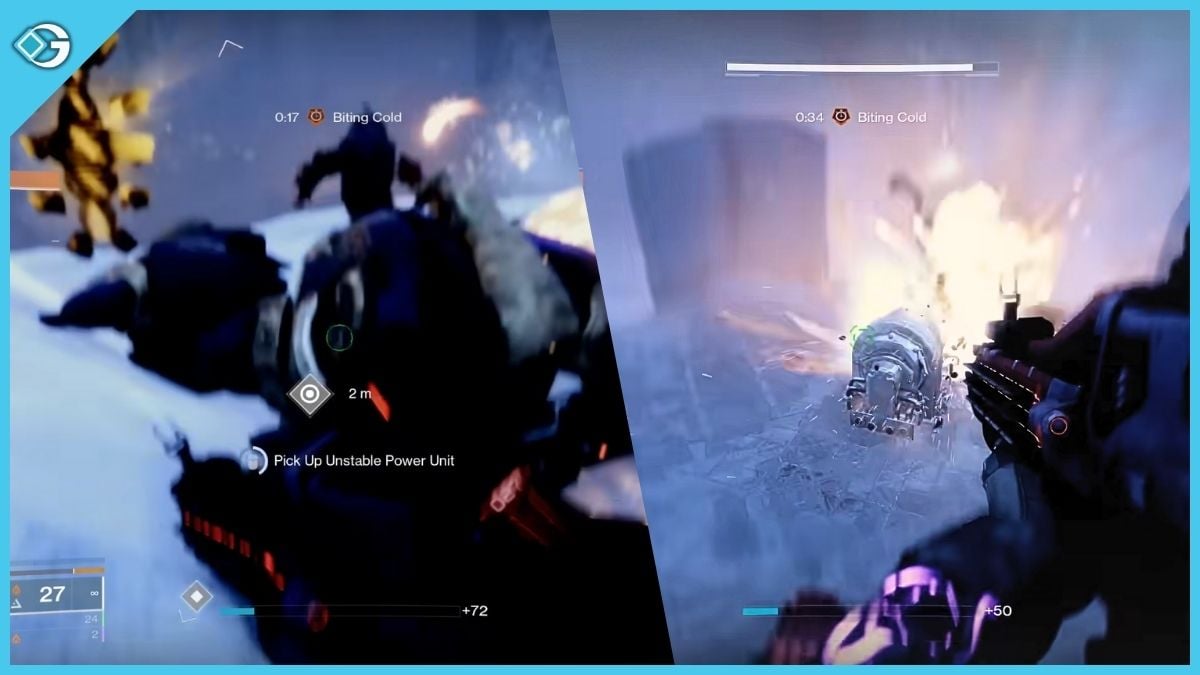
In that area, you need to destroy another set of generators. But this time, a tank will be shooting at you. After you destroy the generators, you need to destroy the tank. While doing so, you will see a shield over the tank. To disable the shield, you need to kill the Psion inside the shield.
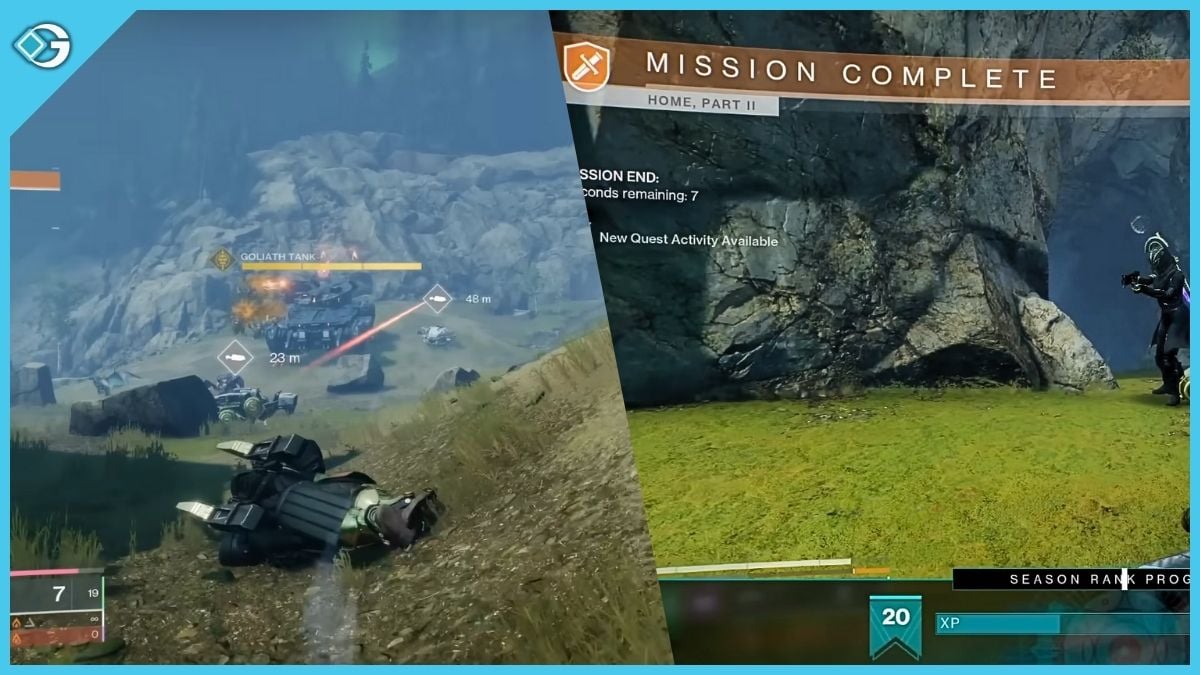
Finally, your Home, Part II will end. Don’t leave the game. You will be teleported to the cave again. Interact with the chest to get the new Darkness super ability. That is how you will finish the Found in Darkness quest.
Step 8: Destined Heroes
Now, you need to open The Pale Heart on the map, then go to The Lost City. You will get a brand-new mission, Destined Heroes, in this city. But that’s actually not the mission name. You need to finish Queen’s Part II before you can actually claim Ergo Sum.

In Queen’s Part II, you first need to pursue the Lucent Hive. They will lead you to a cave. Once you enter the cave, you’ll have to take down some Takens. Be careful of the Ogre army. You can kill them with your rocket launcher.
Once you take care of the Taken army, you will get a new sight mode that lets you see the flying platform, which wasn’t there before.
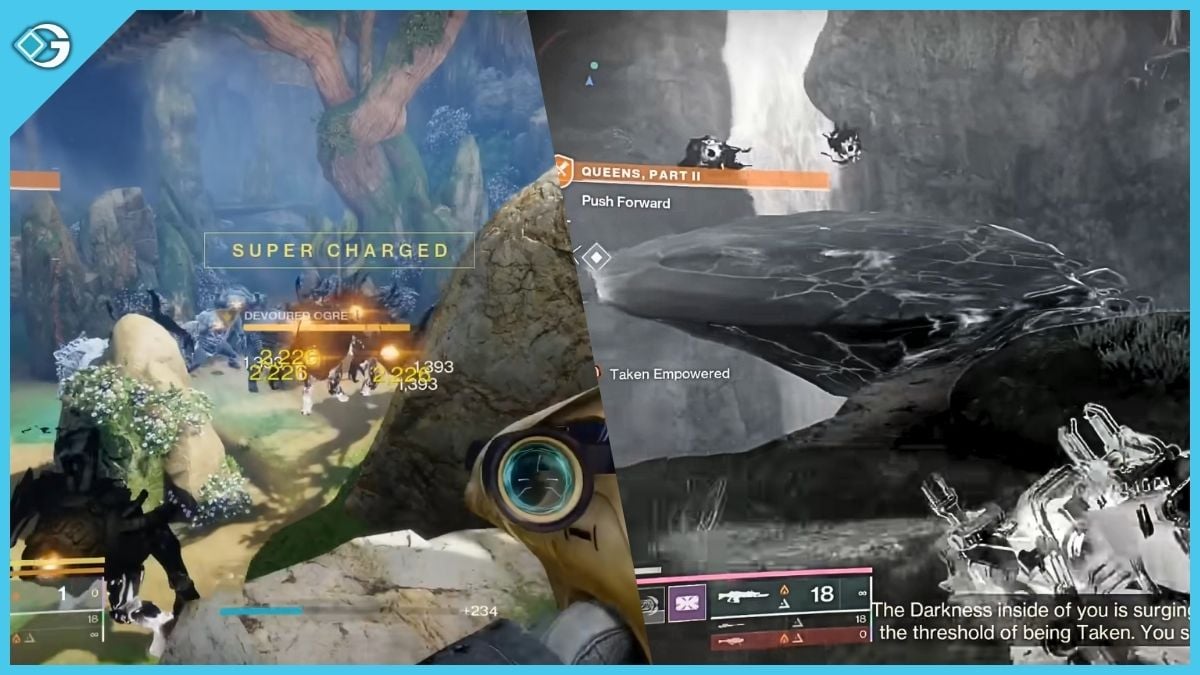
You will reach a new chamber, but you can’t leave without knowing what to do. First, kill some enemies. After doing that, you will be given Taken Sight Mode. Like before, you will see something which is invisible in normal sight. In this case, it’s a ray of light.
You need to liberate these light sources. When you do that, you will return to normal mode. Then, kill some enemies again, and you will be given Taken Sight Mode. Repeat this process a few times.
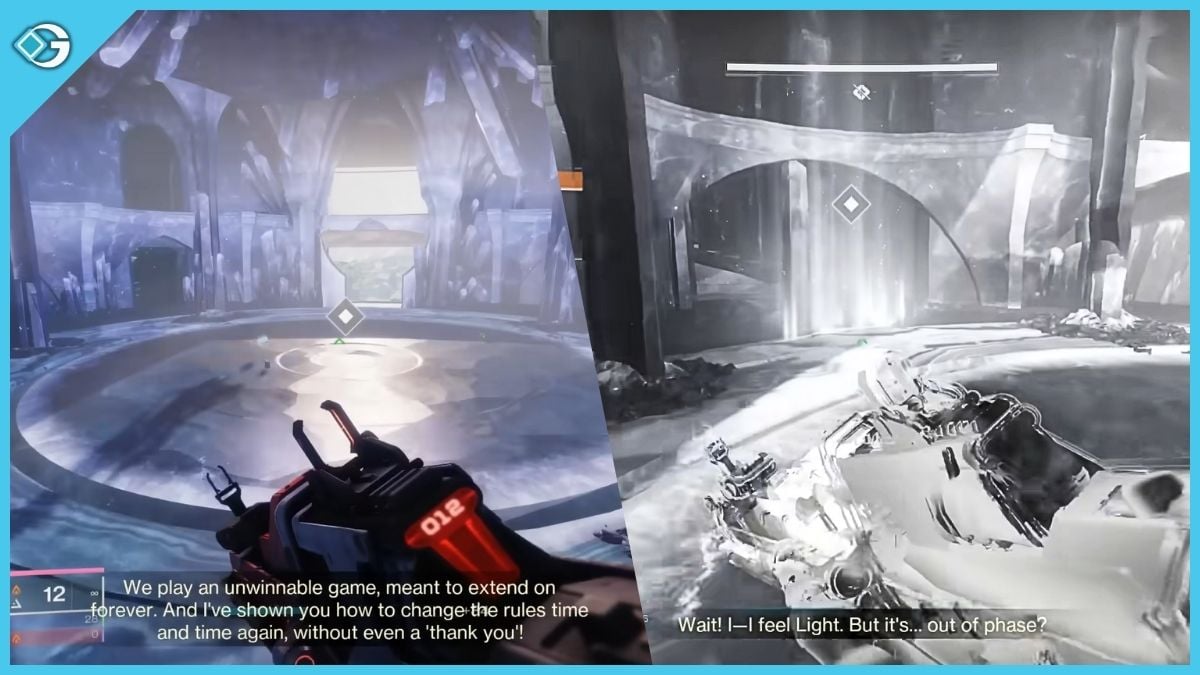
At last, you will face the Tormentor. Kill it. Then the mission, Queens, Part II will be completed. Then, you will be teleported to the final step.
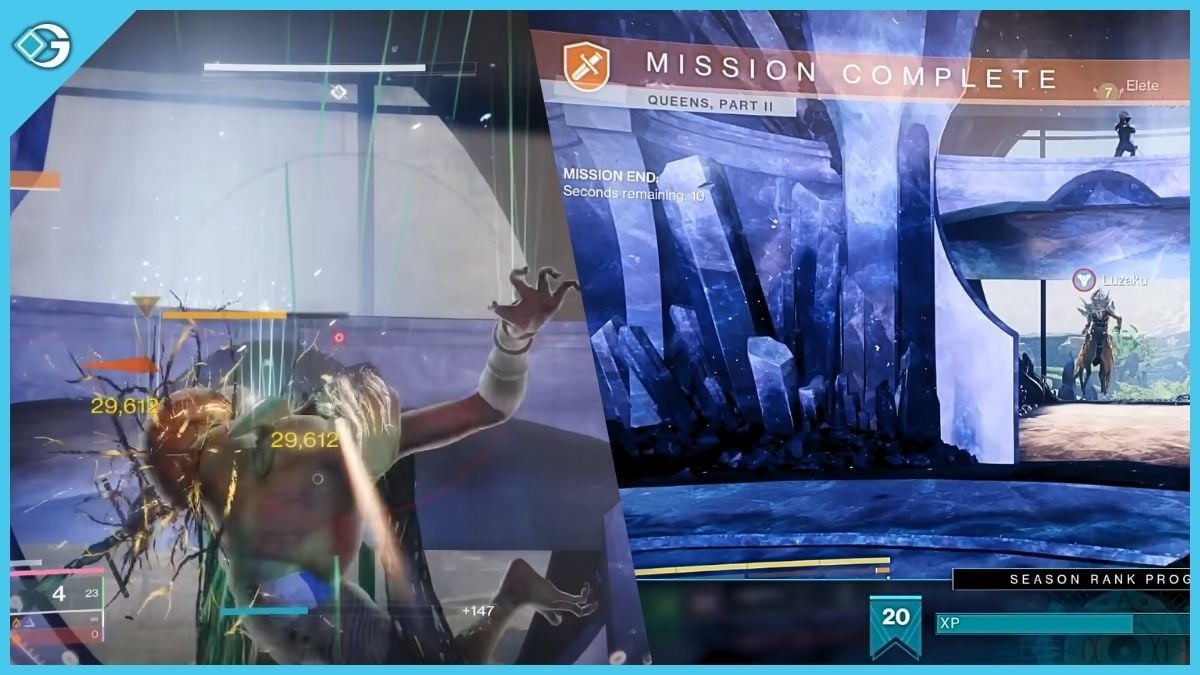
Step 9: Collect Ergo Sum
This is the easiest step. You need to talk to your ghost. He will give you the Dyadic Prism.
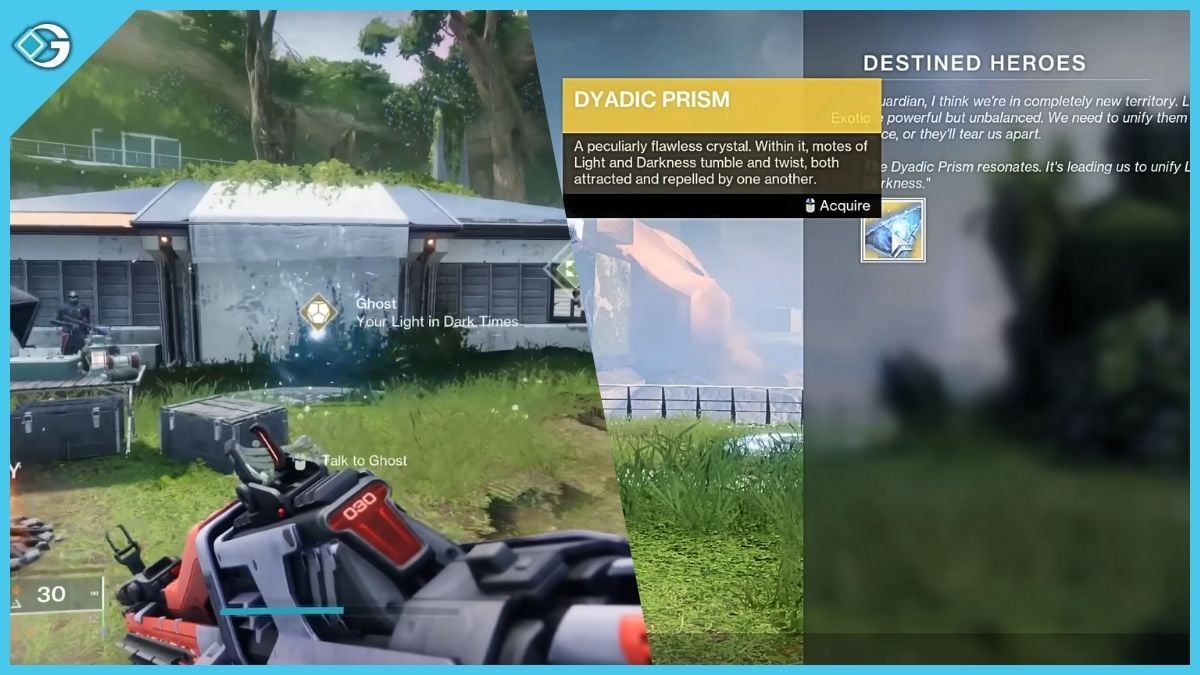
Then, you can launch a new mission from the Quest Menu. Don’t worry, you don’t have to fight anyone.
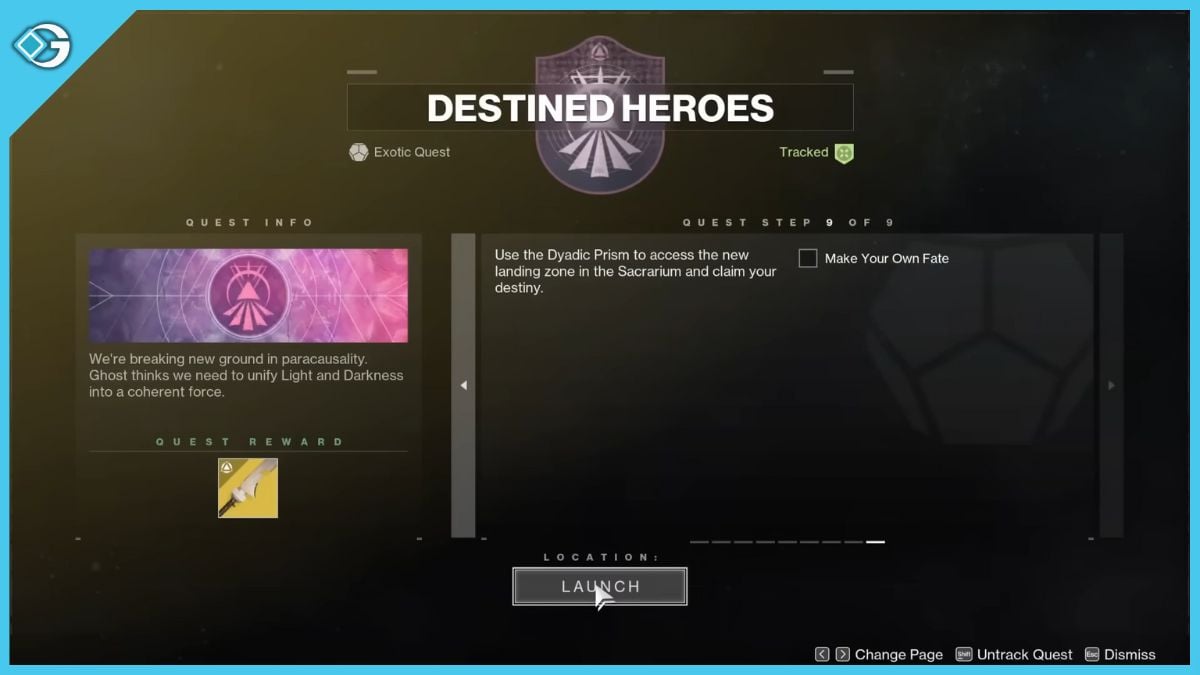
You will then have to finish the last part of Destined Heroes. Now, you need to start the adventure, and you will be teleported to a location. Interact with the statue there, and boom, you will get your Ergo Sum Exotic Sword.
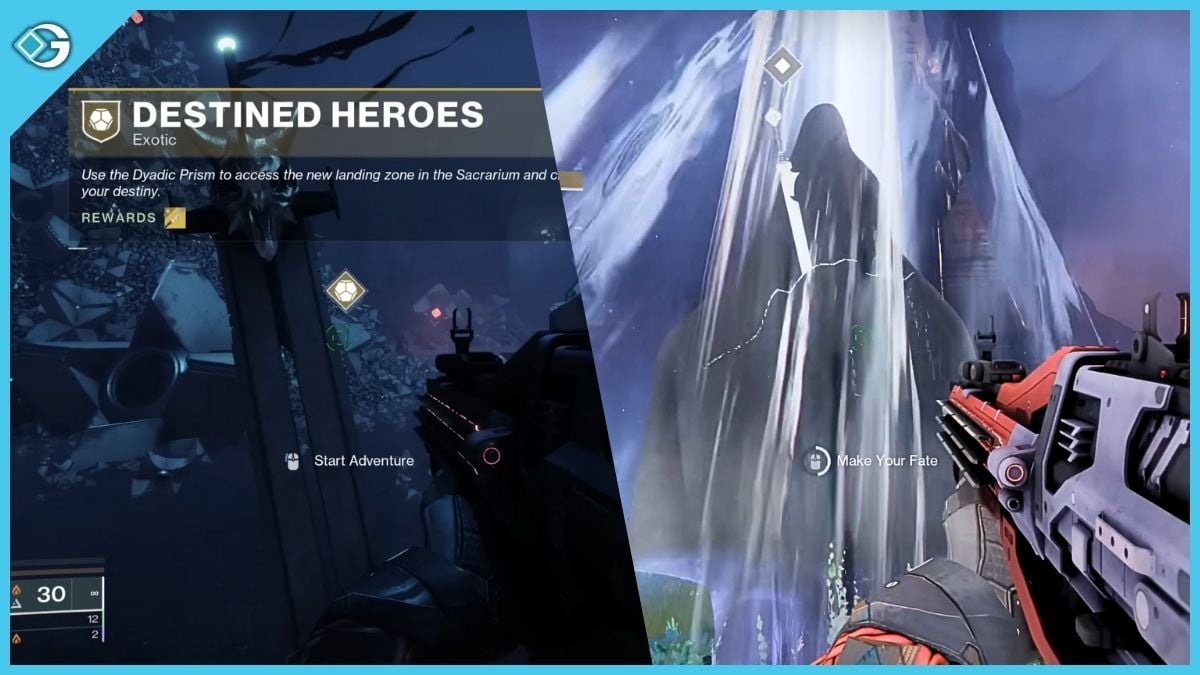
There you have it. You can get your hands on the Exotic Sword if you follow these steps.
Also check out: Destiny 2: Top 10 Best Swords


